Suspension is one of the first targets when off road modifications come to mind. Partly because of the convenience of kits, most of the attention is focused on shocks and coils. And while you are certainly capable with a simple lift, or stock for that matter, it is important to understand the other components that make up your suspension.
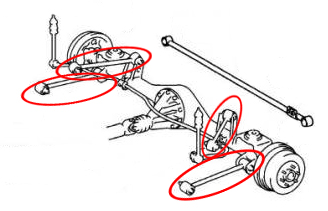 3rd Gen 4Runners run what’s called a 4-link setup. In our case, the rear solid axle is held in position by 4 control arms – 2 uppers and 2 lowers – running parallel front to rear. These control arms also dictate the wheelbase and pinion angle. It is a logical setup with plenty of capability, but there are weaknesses. After a suspension lift, the stock control arms have a slight impact on pinion angle, wheelbase, and articulation. Secondly, the arms themselves are not a strong point of the suspension – especially the uppers. The lower arms are exposed during wheeling, and it fairly common seeing them bent. The upper arms are, for lack of a better term, dinky. The link between ends is very thin and has been known to break at the weld.
If you don’t run into any of the above, you’ll likely get a reminder in the form of a worn bushing. Seeing how these trucks are 14-20 years old, bushings are an expected maintenance item and will be a recurring theme throughout these builds. These arms are a worthy upgrade regardless, but blowing out most of my upper bushing on a recent trip forced the issue.
Enter Toytec Lift’s heavy duty adjustable arms.
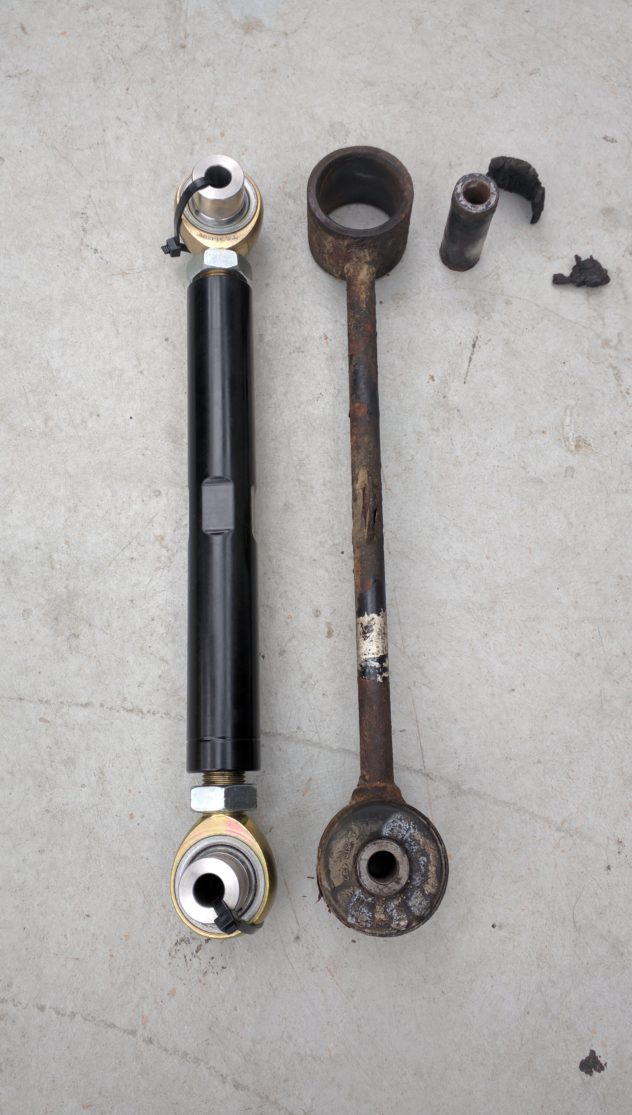
Can you guess which is stock?
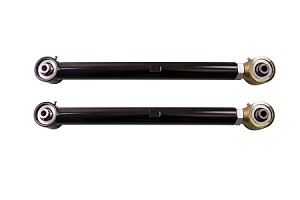
Rear lower control arms
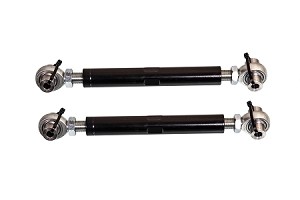
Rear upper control arms
The pictures speak for themselves, but the tech behind the visual is just as impressive. Both the uppers and lowers are made from thick wall DOM steel, with the uppers being adjustable on both ends courtesy of top-of-the-line FK rod ends. The rears are adjustable on one end with a high articulating Johnny Joint on the forward mount, and the rear double pass TIG welded. These things are BEEFY and almost emasculate the stock axle. Long story short, these arms guarantee your links are no longer the weak point in your rear suspension setup.
The improvements were felt immediately – especially with the state of my previous arm. With the considerable weight of the steel rear bumper and 35” spare, the arms are an even more important point of focus. I installed the uppers and lowers at different times, so at the moment are set to stock length. However, the next time we jack up the rear we will be fine tuning the axle position to get these most out of these beasts. In the meantime, the arms have provided stability, both on and off road and handles the weight and stress with confidence. One under-the-radar upgrade I can’t recommend enough.
NEXT: Trip report: Deer Park to Indian Portrero overnight camp


How you going to tune the rear links? I want to know, because I was just wondering how to do mine too! I was thinking if I did and go a alignment wouldn’t they change it again??
Sorry for the delay Sou. Tuning the rear links is done by trial and error through small adjustments. You shouldn’t be adjusting beyond 1/4″ as is, so make minor adjustments and find the length that best suits your needs. For now mine are still stock length.
Email me at info@outworldoverland.com and I can show you a scan of the directions, but it’s easiest with the axle off the ground. You would make small adjustments, approx 1/4 rotations, on each side and make sure to duplicate on the other. In terms of pinion angle and axis through flex, it’s going to be trial and error based on your preference. I’ll update on the blog when we get around to adjustments!